Starting a Game
Now that we know how to call Auto Traffic Control's API, starting a game is quite straightforward.
First, we need to connect to the GameService. The clients all work the same,
so we pretty much only have to change the names from the previous step:
const gameService = new GameServiceClient("localhost:4747", getCredentials());
Then, we want to call
the startGame
method on the GameService. We can remove the call to getVersion from
src/main.ts, and replace it with a call to startGame.
startGame returns an empty response without any data, so we can ignore it in
our callback. We still want to check the err to see if the request succeeded.
gameService.startGame(new StartGameRequest(), (err: ServiceError | null) => {
  if (err != null) {
    throw err;
  }
});
If the request succeeds, let's just print a message for now.
console.log("Started a new game. Good luck!");
When putting everything together and fixing the missing imports, your
src/main.ts file should look similar to this:
import {
  getCredentials,
  GameServiceClient,
  ServiceError,
  StartGameRequest,
  StartGameResponse,
} from "auto-traffic-control";

function main() {
  const gameService = new GameServiceClient("localhost:4747", getCredentials());

  gameService.startGame(new StartGameRequest(), (err: ServiceError | null) => {
    if (err != null) {
      throw err;
    }

    console.log("Started a new game. Good luck!");
  });
}

main();
Great, let's start the game and run our program!
Fire up the itch app, and launch Auto Traffic Control. When the game has
started, run npm start to start a new game session. The game will switch to a
map view with the airports, and will start spawning planes after a few seconds.
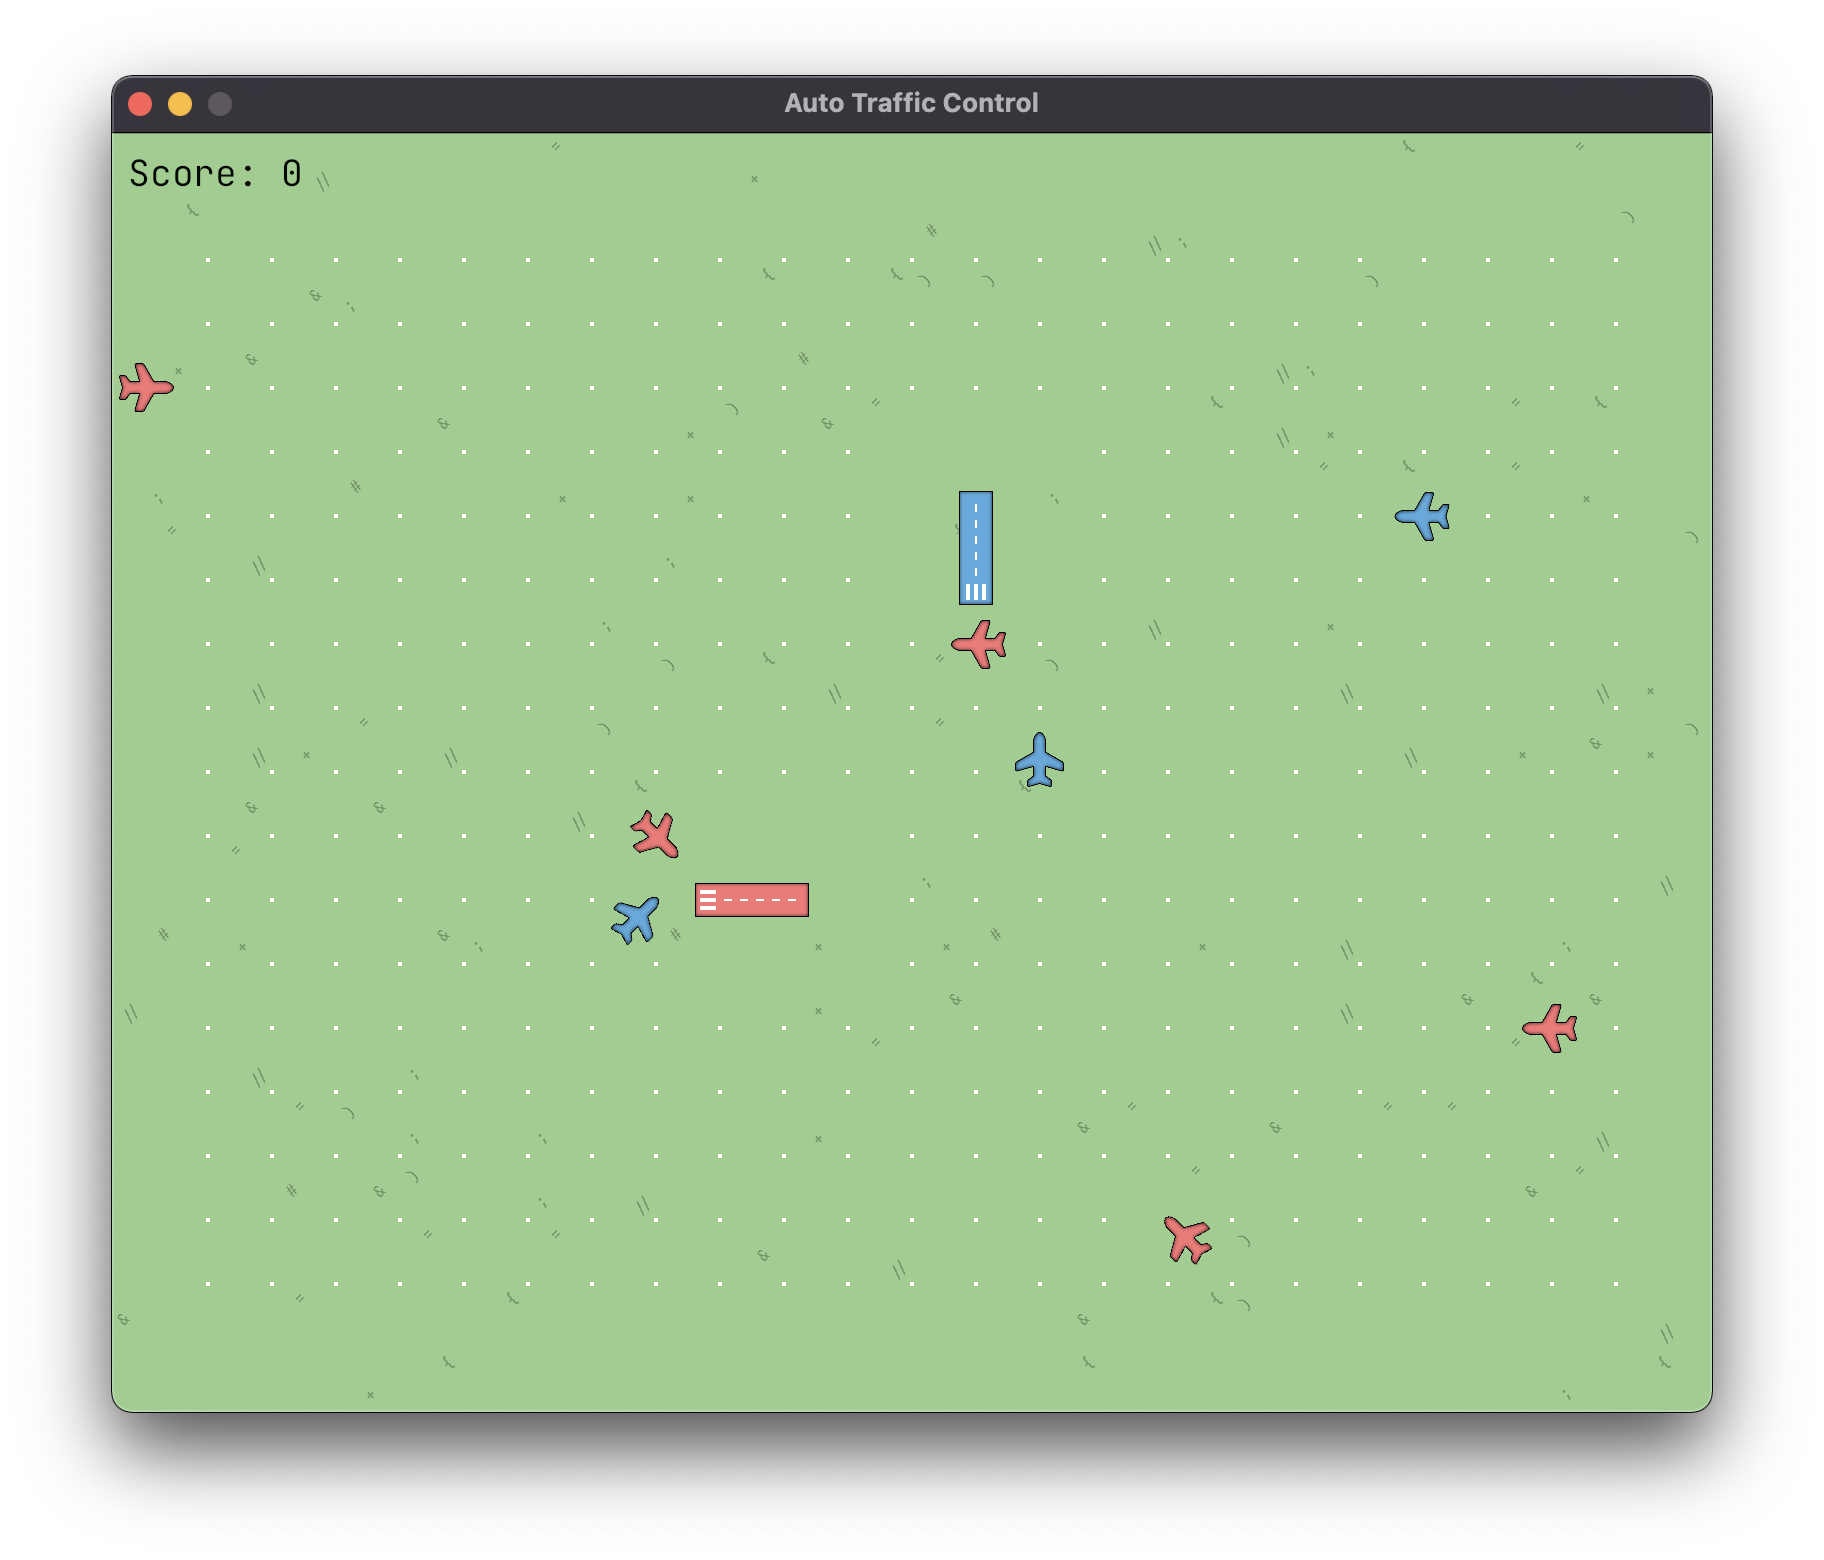
Our program is not doing anything yet to control the airplanes, so sooner or later two airplanes will get too close to each other and the game will end. We will look at that in the next chapter.